
› UKTH forums › 🛠️ Life & Stuff › Cars › Renault Kadjar Replace Front Brake Discs (rotors) and Pads So had fun the other day replacing our Renault Kadjar front brake discs (rotors) and pads, so thought I would create a quick guide as not much material out there...
- This topic has 3 replies, 2 voices, and was last updated 2 years, 1 month ago by
 UK Sentinel.
-
AuthorPosts
-
February 24, 2024 at 2:51 pm #30851
So had fun the other day replacing our Renault Kadjar front brake discs (rotors) and pads, so thought I would create a quick guide as not much material out there to reference.
Note: I did view one video when the guy actually put the brake wear indicators on the wrong end of the brake pad, so this also prompted me to create this guide for clarity.
My new brake discs are from Febi bilstein and are a grey cast iron type, I have opted for the Delphi brake pads which are low metallic, this combination will chew through the discs (rotors) much quicker and create more dust but should ensure good and consistent braking efficiency in hot, cold and wet conditions.
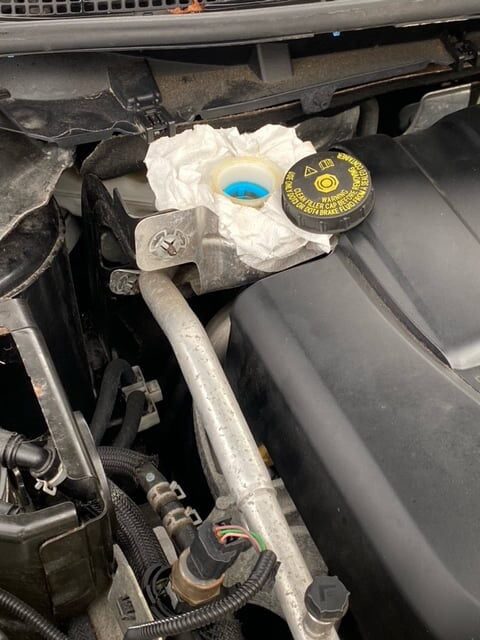
So first job was to open the car bonnet and remove the brake fluid reservoir lid and place around the opening some toweling to allow for when the brake calipers piston is compressed and allow for the brake fluid to travel back to the reservoir when new pads to be fitted.
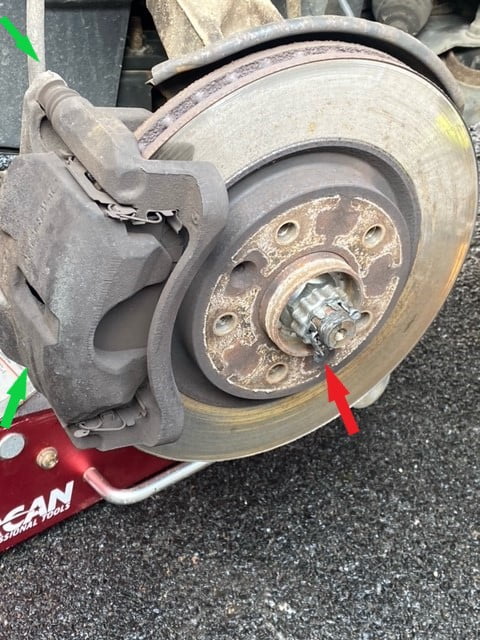
Once the front wheel was removed, below is a picture below showing the old Renault Kadjar brake disc and pads and the 30 Torx screw (red arrow) that needs to be removed.
Then the 2x brake caliper bolts (green arrows) need to be removed (M14).
The brake caliper can then be removed from the disc and be cable tied safely as per below picture.
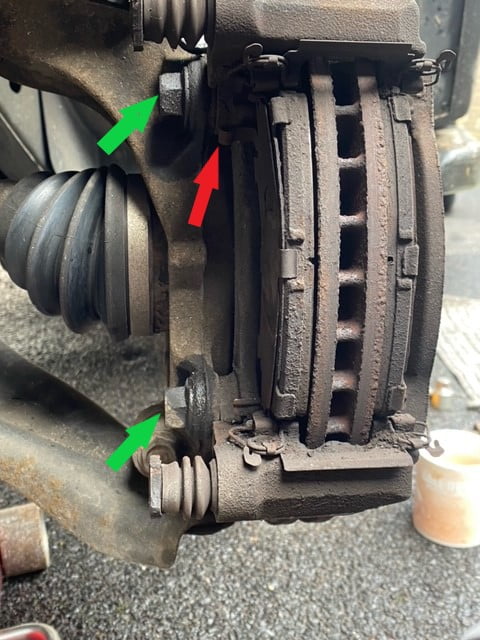
Side view of old front brake caliper bracket with arrow pointing to brake wear indicator (below)
ref, 2x M19 brake caliper bracket bolts (green arrows)
Close up Picture below of brake wear indicator at top of pad assembly
Then remove the 2x M19 bolts (green arrows) and this will allow the brake caliper bracket to be removed and allow access to the brake disc.
Once the 2x M19 bolts have been removed and the brake caliper bracket removed, the disc can be removed (big hammer needed and lots of WD40)
The replacement disc can be added and secured with the Torx 30 screw after cleaning the disc with some disk brake cleaner.
The brake caliper bracket assembly can then be cleaned and the new replacement disc pads can be added taking note of the brake pad spring retention assembly positioning.
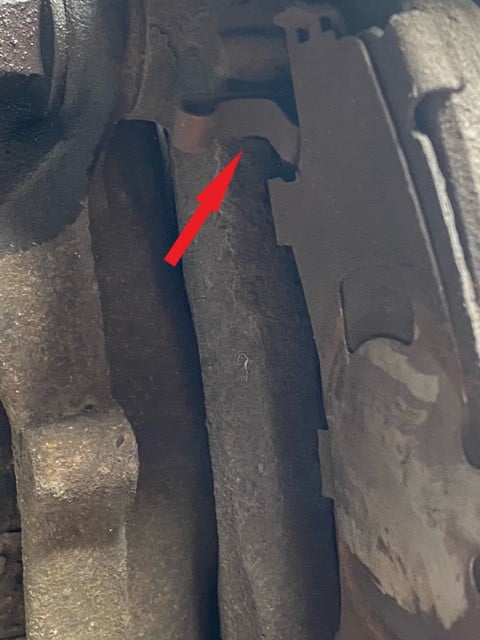
I did also remove the brake caliper sliders (red arrows) and re-greased them (picture below)
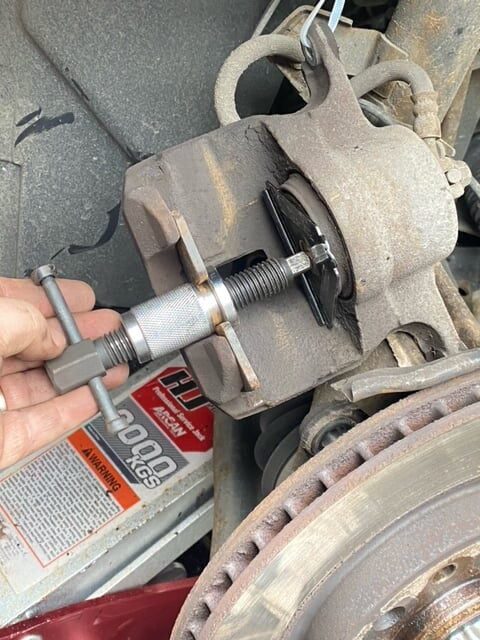
Once the new front brake pads and shims have been added to the brake caliper bracket assembly, the brake caliper piston needs to be compressed to allow for the new pads.
Picture of new front Disc and Pads below and assembly of brake components is basically a reversal of the above removal stages.
Renault Kadjar Torque Bolt Settings for Reference:
2x M14 Bolts (brake caliper) = 26 Nm
2x M19 Bolts (brake caliper bracket) = 165 Nm (I believe)
In a completely sane world, madness is the only freedom (J.G.Ballard).
Liked by:
You need to login in order to vote
February 24, 2024 at 9:39 pm #30896wow nice guide, wish I could do these things but never been involved with these things, have always taken to a dealer and them then sort whatever is needed doing.
Kev
Liked by:
You need to login in order to vote
February 25, 2024 at 6:05 am #30918Thank you, nice to get my hands dirty once in a while
In a completely sane world, madness is the only freedom (J.G.Ballard).
You need to login in order to vote
June 5, 2024 at 11:59 am #32435Note:
To add to the debate, changing brake pads can require compressing the brake calipers piston which can create brake fluid back pressure which could damage the ABS module and the seals of the Master Cylinder.
on modern ABS vehicles, another option is to slacken the brake calliper bleed nipple before the caliper piston is compressed. This can save potential damage to ABS and Master Brake Cylinder, but you need to ensure no air enters brake calliper as a result of slackening the bleed nipple.
So a good idea to understand how your brake pedal feels/reacts/travels under different foot pressure when engine is On and Off before you change the brake pads etc.
In a completely sane world, madness is the only freedom (J.G.Ballard).
Liked by:
You need to login in order to vote
-
AuthorPosts


- You must be logged in to reply to this topic.